Fresh sod can transform a Southwest Florida yard quickly, but the first few weeks after installation determine whether that lawn roots evenly or starts showing stress. In Fort Myers, Cape Coral, Naples, Lehigh Acres, Bonita Springs, and nearby communities, new sod has to deal with sandy soil, strong sun, afternoon storms, watering restrictions, and fast-draining lots. That combination makes watering simple in concept but easy to get wrong in practice.
The goal is not to flood the yard. The goal is to keep the sod and the upper layer of soil consistently moist long enough for the roots to knit into the ground. Once the sod is rooted, the watering schedule should gradually shift from frequent light watering to deeper, less frequent irrigation that encourages a stronger lawn.
Below is a practical first-30-days watering guide for Florida homeowners after fresh sod delivery in Florida or professional sod installation in Florida.
Why New Sod Needs a Different Watering Plan
Established turf can survive short dry periods because its roots are already in the soil. New sod is different. When sod is harvested, most of the deeper root system is cut. After installation, each piece needs steady moisture at the soil line so the new roots can grow down into the prepared yard.
If the sod dries out during this early stage, the edges can shrink, seams can open, and sunny areas may turn gray-green or brown. If the lawn stays soaked for too long, the yard can become soft, uneven, and more vulnerable to fungus or shallow rooting. Southwest Florida lawns need a balanced approach, especially during rainy season when one side of town may get a heavy storm while another stays dry.
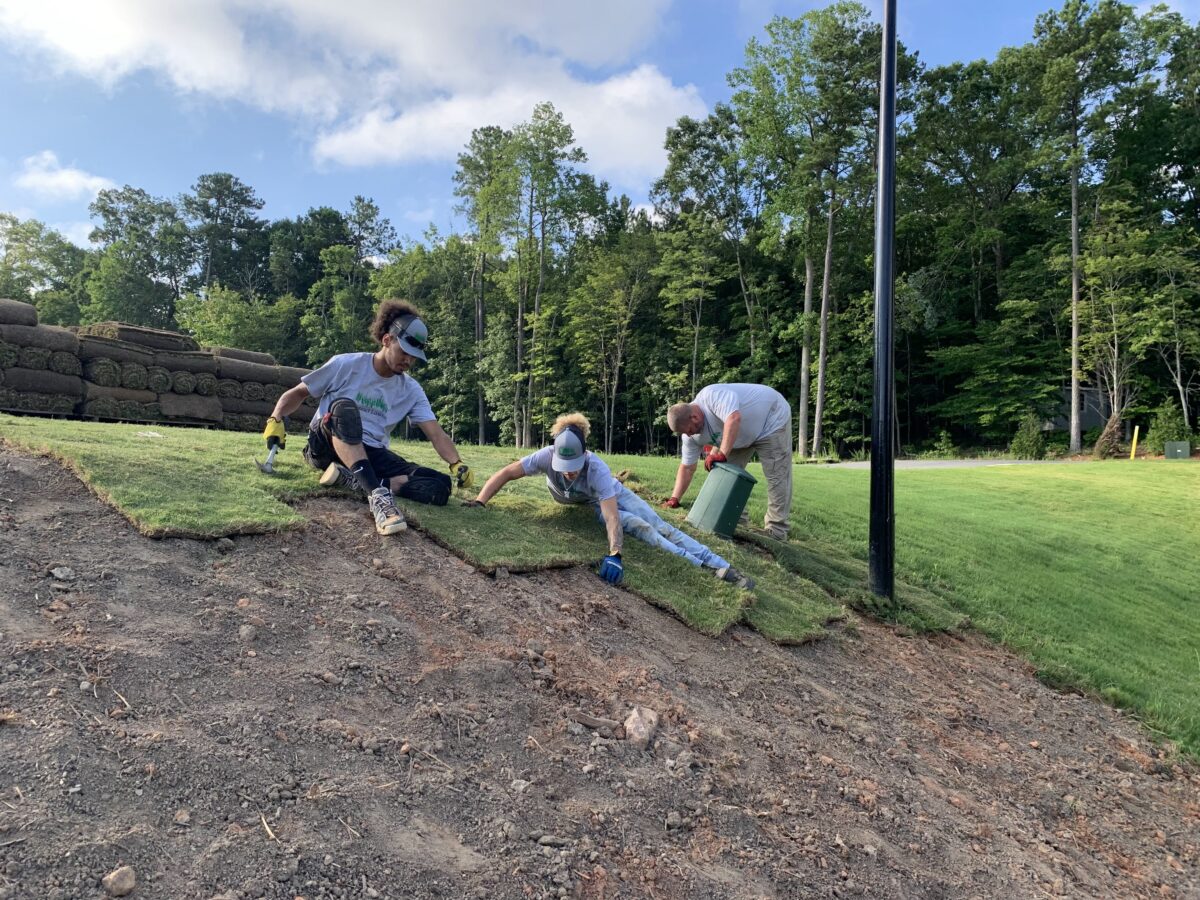
Day 1: Water Immediately After Installation
The most important watering happens the same day the sod is installed. New sod should be watered as soon as possible after it is laid, not left to bake in the sun until evening.
For most homes, the first watering should soak the sod and wet the top few inches of soil underneath. You can check this by lifting a corner of a sod piece in a less visible area. The soil below should be damp, not dusty. If the underside of the sod is dry or the ground beneath it is still powdery, the lawn needs more water.
Pay extra attention to:
- Edges along driveways, sidewalks, and curbs
- South- and west-facing areas that get the hottest afternoon sun
- Slopes or raised areas where water runs off quickly
- Corners that sprinkler heads may not reach evenly
These areas dry out faster than the middle of the yard and are often the first places to show stress.
Days 2–7: Keep the Sod Consistently Moist
During the first week, the sod should stay consistently moist throughout the day. In Southwest Florida heat, that often means watering in the morning and checking the lawn again later in the day. The exact run time depends on sprinkler coverage, soil conditions, sun exposure, and rainfall, so homeowners should use the lawn itself as the guide.
A good first-week routine is:
- Water early in the morning before the day heats up.
- Check sunny and edge areas in the afternoon.
- Add a shorter cycle only where the sod is drying out.
- Avoid heavy evening watering that leaves the lawn wet overnight.
The lawn should feel damp when you step on it, but not swampy. If water is pooling, running down the driveway, or leaving footprints that stay sunken, reduce the run time and improve coverage rather than simply adding more water.
Week 2: Start Encouraging Roots
By the second week, the sod should begin attaching to the soil. You can test this gently by tugging on a corner. If it resists lifting, roots are starting to take hold. At this point, the watering schedule can usually begin shifting away from constant surface moisture.
Instead of several light cycles, move toward fewer cycles that wet the root zone more deeply. The goal is to encourage roots to grow down, not stay only at the surface. Morning watering is still best because it gives the lawn moisture before the hottest part of the day while allowing the grass blades to dry.
If the sod still lifts easily, keep it moist and give it more time. Shaded areas, compacted soil, poor grading, or uneven irrigation coverage can slow rooting.
Weeks 3–4: Transition Toward a Normal Lawn Schedule
During weeks three and four, most healthy sod should be moving toward a more normal irrigation pattern. That does not mean neglecting it. It means watering deeply enough to support the developing roots while reducing the constant light watering that can create shallow growth.
A good transition plan is to water less often but for a more meaningful soak, always adjusting for rain and local watering rules. If a strong afternoon storm delivers enough water, skip the next planned cycle instead of watering automatically. If the rain misses your neighborhood, do not assume the lawn received what it needed.
This is also the time to walk the property and look for irrigation problems. Brown strips, dry corners, and greener circles around sprinkler heads usually point to coverage issues, not necessarily bad sod.
Rainy Season Adjustments in Southwest Florida
Rainy season can help new sod, but it can also create confusion. A quick storm may wet the grass blades without soaking the soil. A slow, steady rain may replace an irrigation cycle completely. Homeowners should check the soil instead of relying only on the weather app.
After rain, lift a sod corner or push a screwdriver into the soil. If the ground is damp a few inches down, you may be able to skip watering. If the soil is dry below the surface, the lawn still needs irrigation.
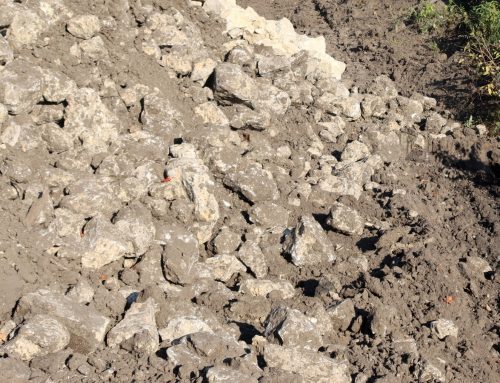
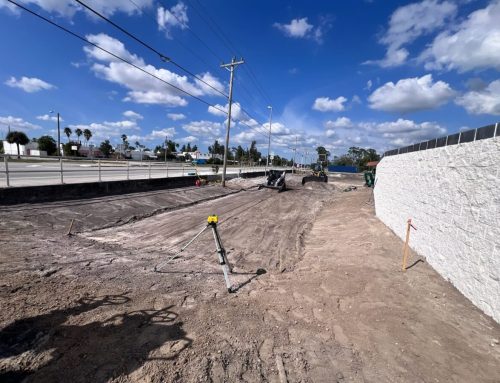
Drainage matters too. If sections of the yard stay soggy after every rain, adding more sod will not fix the underlying issue. Low spots, compacted areas, or poor grading should be addressed with Topsoil and Grading Services before or during installation so the lawn has a better chance to establish evenly.
Warning Signs Your New Sod Needs Attention
New sod often changes color slightly as it adjusts, but certain signs should be addressed quickly:
- Gray-green blades that do not spring back after walking
- Curling or folding grass blades
- Browning along seams and edges
- Sod pieces shrinking away from each other
- Dry soil underneath the sod
- Persistent puddling or a sour, swampy smell
Dry stress usually needs faster action than most homeowners expect. Once new sod is fully dried out, recovery can be uneven. On the other hand, constantly soggy sod can also create problems. The best response is to inspect the soil, adjust irrigation coverage, and correct drainage issues early.
Mowing and Foot Traffic During the First Month
Limit foot traffic while new sod roots. Kids, pets, contractors, and lawn equipment can shift pieces before they anchor. Mow only after the sod resists lifting, the grass is tall enough to cut, and the mower blade is sharp. Never scalp new sod; removing too much leaf blade at once slows establishment.
When to Call Sunshine Sod
If you are planning a lawn replacement, new construction lawn, HOA curb appeal fix, or sod repair after pool, patio, or paver work, the watering plan should be part of the installation conversation. Sod performs better when the soil is prepared, the grade is corrected, the right grass type is selected, and the homeowner knows how to water during the first month.
Sunshine Sod helps Southwest Florida homeowners with sod delivery and sod installation across the region. If your current lawn is thin, damaged, full of weeds, or struggling after construction work, we can help you choose the right sod and get the yard ready before installation day. Homeowners can also review Sunshine Sod’s Sod Maintenance Tips for aftercare basics.
Related Sunshine Sod Resources
- Sod Installation in Florida
- Fresh Sod Delivery in Florida
- Topsoil and Grading Services
- How Long Should You Water New Sod in Florida?
The Bottom Line
For new sod in Southwest Florida, the first 30 days are about consistency. Water immediately, keep the lawn moist during the first week, gradually transition to deeper watering, and adjust for rain instead of following the sprinkler timer blindly. Watch the edges, sunny areas, and dry corners closely.
A great-looking lawn starts with good sod, proper preparation, and the right first-month care. If you want help replacing your lawn or planning a sod installation, contact Sunshine Sod for local guidance and a quote.